Application Principles
The basic mechanical properties of materials such as hardness, ductility and strength depend on internal structures. For this reason, the internal structure and properties of the materials must be well known. Detection of these properties can be done by some mechanical experiments.
The tensile and compression strengths of the materials are determined by the resistance to the applied loads. The resistance to breakage of the materials is determined by the resistance they exhibit against the applied impact. The resistance of the materials against bending is determined by the resistance they show against the force applied between the two support pieces.
Applications
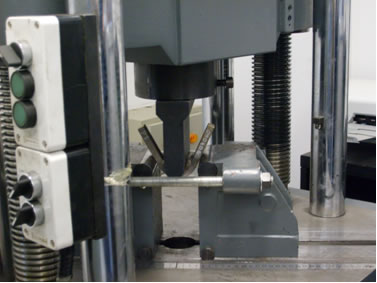
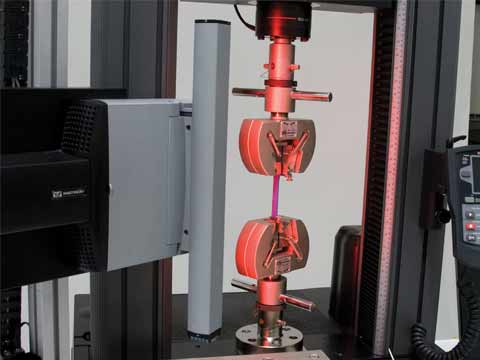
Tensile testing is the most commonly used method of destructive material inspection. Tensile force is applied on the same axis until the sample is taken from the material to be used. According to the results obtained, it is possible to predict how material selection, quality control and materials will react to other forces in any application.
Information obtained by Tensile Test
- Maximum tensile stress
- Maximum elongation
- Field reductions
From these data, properties such as Young’s modulus, Poisson’s ratio, yield strength and consolidation can be obtained.
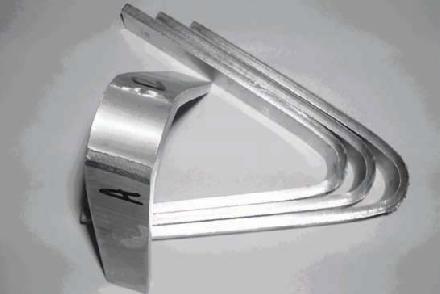
It is defined as the behavior of the materials against the forces of bending. It is called tilting of the shape change which occurs when a force is applied to the center of a test sample with a rectangular or round section placed on two objects.
The maximum bending stress value during fracture gives the bending strength or bending strength of the sample.
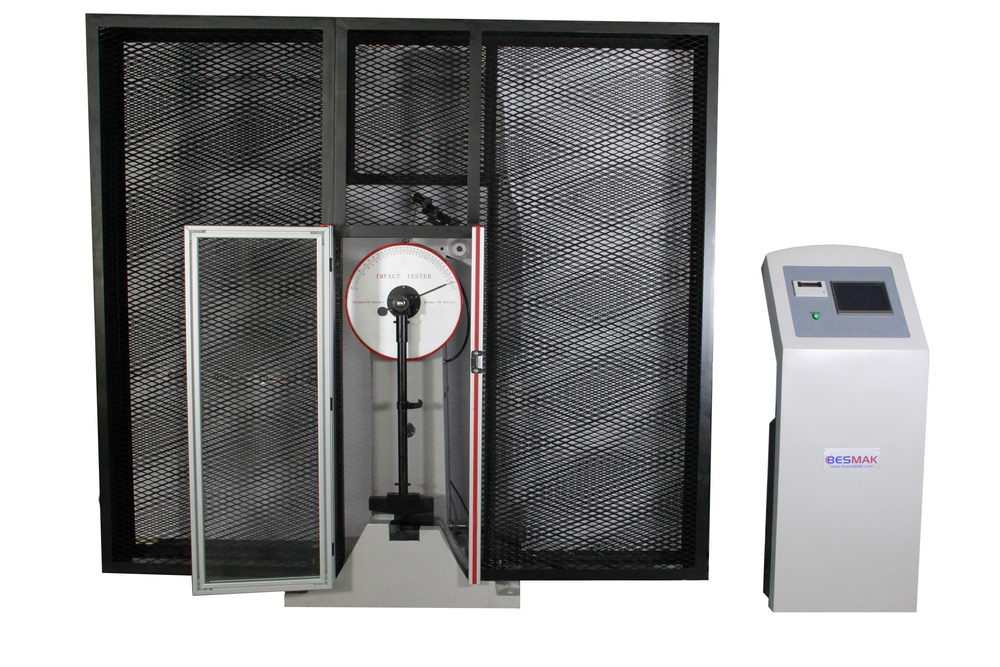
It is a test to determine the energy of breaking the materials against dynamic loads. The Charpy Impact Experiment measures the amount of energy absorbed by a material shock due to a major shock and is used to evaluate the material’s longevity.
Application;
A notch is opened in the sample to create a three-dimensional stretch on the test sample to be broken. For this reason, this experiment is called the notch impact test.
The notch impact test is performed in two ways; CHARPY and IZOD.
- Charpy notch blow test
A notch opens in the middle of the sample. The breaking of the tester breaks through the notch of the attractive, notched sample.
- Izod notch impact test
The notch opens further away from the sample center. The crushing hammer of the tester scatters from near the end edge of the notched specimen.
Information obtained by Notch – Impact Test
Under dynamic constraints of metallic materials;
- Amount of energy required to break
- Ductile – Determination of brittle transition temperature
The most common experiment on materials is to measure your hardness. The main reason for this is that the experiment is simple and less destructive than others. Another advantage is that there is a parallel relationship between hardness and other mechanical properties of a material. For example, in steels, tensile strength is directly proportional to hardness; So it is possible to get an idea of the strength of the material as a result of the simple hardness measurement.
Hardness is a relative measure and is described as resistance to abrasion, abrasion, cutting and plastic deformation. In laboratories, the value of hardness measurements made with devices is resistance against the plastic deformation of the material.
Applied hardness test methods
- Brinell Hardness measurement method
- Rockwell Hardness measurement method
- Vickers Hardness measurement method
- Micro – Hardness measurement method
The most basic procedure is the visual inspection process for surface characteristics such as weld seams, layers or scale. The source is widely used as a very important production process. The first step in reviewing the sources is the development of the source macro structure. Source macro structure is developed depending on process type, process parameters and material used.
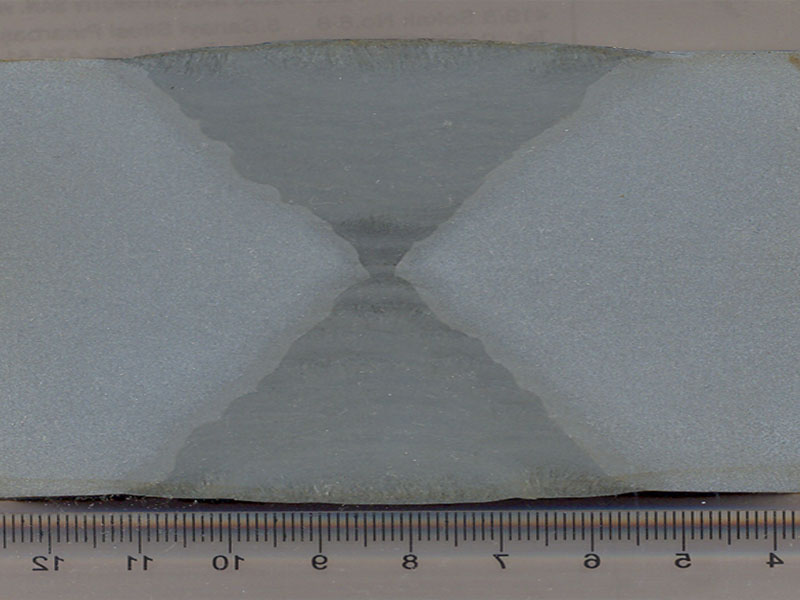
Metallography is the key metric for welding quality control. When describing the source macro structure, three different structures, such as metal, heat affected zone and original metal, are meant. Weld metal and heat affected zone, composition, grain size and orientation, microstructure and hardness changes. For this reason, significant changes are observed in the microstructure of the weld metal.
Macro etching is frequently used to describe the effects of changes in welding parameters on the size and shape of the weld metal, penetration depth, weld structure and depth.
